Introducing Create ML
- Background
- Create ML
- Main Advantage: Easy to Use
- Transfer Learning
- Improving Accuracy
- References and Materials
Apple released Core ML in WWDC2017, and I took a note on CoreML Usage, including mlmodel training using Microsoft Custom Vision.
This post is about the background of Create ML, its advantages, its relations with Turi. There is no code in this post. If you are looking for the usage of Create ML, refer to Create ML Tutorial: Getting Started.
Background
Before 2018, where can we get the mlmodel file used in iOS and macOS?
- TensorFlow: Train machine learning models and easily convert them to the Core ML Model format.
- Custom Vision from Microsoft
- Core ML Tools: Use this python package to convert models from machine learning toolboxes into the Core ML format.
- Apache MXNet: Train machine learning models and convert them to the Core ML format.
- ONNX: Convert ONNX models you have created to the Core ML Model format.
- …
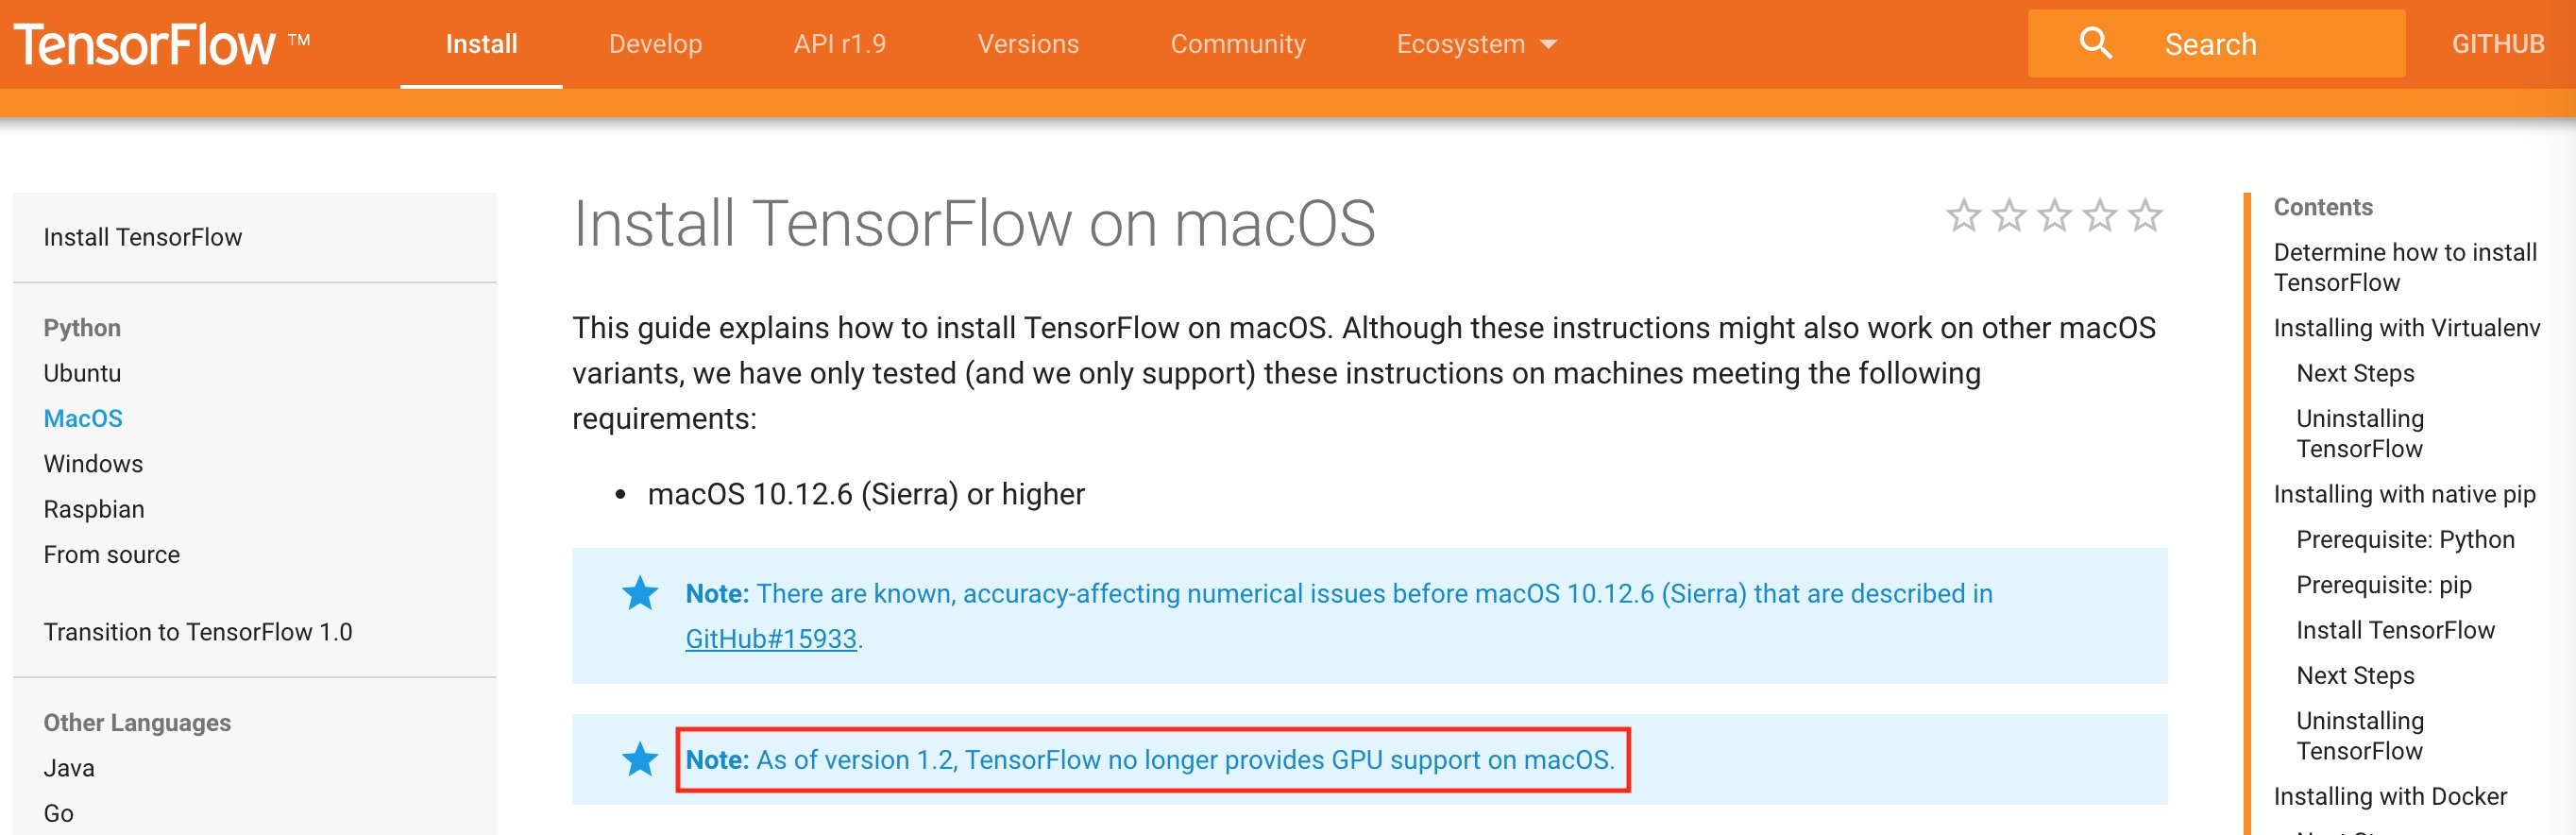
TensorFlow doesn’t support GPU on macOS from version 1.2.
Core ML: Announced at WWDC 2017, and already supported by every major ML platform to convert existing models. But the existing models tend to be too big and/or too general.
Turi Create: Acquired by Apple in 2016 ($200M), it lets you customize existing models with your own data. But … Python :[.
Create ML
Finally in WWDC2018, Apple announced Create ML, which can train machine learning models on macOS, able to use the GPU on macOS. The Create ML session and Turi Create session did not mention any word on each other, but obviousely, Create ML is based on Turi Create.
Based on Trui’s model training, Create ML can make model training on macOS using GPU (maybe through Metal), and come up with models which can be used by Core ML framework.
With XCode Playground’s updates, Apple gives CreateMLUI, a very easy way for model training: just need to drag your training data and test data into Playground.
Main Advantage: Easy to Use
Do model training using Swift in XCode.
Create ML is proof that Apple is committed to making it easier for you to use machine learning models in your apps. In this Create ML tutorial, you’ll learn how Create ML speeds up the workflow for improving your model by improving your data while also flattening the learning curve by doing it all in the comfort of Xcode and Swift.
–Refer to Create ML Tutorial: Getting Started
Create ML: Announced at WWDC 2018. ML in Xcode & Swift! Currently includes only two of Turi Create’s seven task-focused toolkits, plus a generic classifier and regressor, and data tables. I see it as a trail of breadcrumbs leading you to the Turi Create gingerbread house, inhabited by a “good dog” instead of a witch! (Turi Create’s logo is a dog silhouette.)
–Refer to Create ML Tutorial: Getting Started
Refer to Create ML Tutorial: Getting Started to see how easy it is to use Create ML. There are some code comparasion between Create ML and Turi Create.
Create ML和Turi Create
Currently Create ML includes only two of Turi Create’s seven task-focused toolkits, plus a generic classifier and regressor, and data tables. Turi Create has five task-focused toolkits that aren’t (yet?) in Create ML:
- Recommender systems
- Image similarity
- Object detection
- Style transfer
- Activity classification
Transfer Learning
The description of Transfer Learning from Apple Turi:
It’s not uncommon for the task you want to solve to be related to something that has already been solved. Take, for example, the task of distinguishing cats from dogs. The famous ImageNet Challenge, for which CNN’s are the state-of-the-art, asks the trained model to categorize input into one of 1000 classes. Shouldn’t features that distinguish between categories like lions and wolves also be useful for discriminating between cats and dogs?
The answer is a definitive yes. It is accomplished by simply removing the output layer of the Deep Neural Network for 1000 categories, and taking the signals that would have been propagating to the output layer and feeding them as features to a classifier for our new cats vs dogs task.
So, when you run the Turi Create image classifier, it breaks things down into something like this:
Stage 1: Create a CNN classifier on a large, general dataset. A good example is ImageNet, with 1000 categories and 1.2 million images. The models are already trained by researchers and are available for us to use.
Stage 2: The outputs of each layer in the CNN can be viewed as a meaningful vector representation of each image. Extract these feature vectors from the layer prior to the output layer on each image of your task.
Stage 3: Create a new classifier with those features as input for your own task.
At first glance, this seems even more complicated than just training the deep learning model. However, Stage 1 is reusable for many different problems, and once done, it doesn’t have to be changed often.
In the end, this pipeline results in not needing to adjust hyper-parameters, faster training, and better performance even in cases where you don’t have enough data to create a convention deep learning model. What’s more, this technique is effective even if your Stage 3 classification task is relatively unrelated to the task Stage 1 is trained on. This idea was first explored by Donahue et al. (2013), and has since become one of the best ways to create image classifier models.
–Refer to truicreate transfer learning
Some comments on transfer learning from web:
What’s happening here? It’s called transfer learning, if you want to look it up. The underlying model — VisionFeaturePrint_Screen, which backs the Vision framework — was pre-trained on a ginormous dataset to recognize an enormous number of classes. It did this by learning what features to look for in an image, and how to combine these features to classify the image. Almost all of the training time for your dataset is the model extracting around 1000 features from your images. These could include low-level shapes and textures and higher-level shape of ears, distance between eyes, shape of snout. Then it spends a relatively tiny amount of time training a logistic regression model to separate your images into two classes. It’s similar to fitting a straight line to scattered points, but in 1000 dimensions instead of 2. But it’s still very quick to do: my run 1m 15s for feature extraction and 0.177886 seconds to train and apply the logistic regression.
Transfer learning only works successfully when features of your dataset are reasonably similar to features of the dataset that was used to train the model. A model pre-trained on ImageNet — a large collection of photos — might not transfer well to pencil drawings or microscopy images.
–Refer to Create ML Tutorial: Getting Started
Improving Accuracy
Refer to Improving Your Model’s Accuracy from Apple for improving training accuracy.
How to improve the model’s training accuracy, validation accuracy and evaluation accuracy. Create ML Tutorial: Getting Started describes the three ‘accuracy’s.
References and Materials
You might like to browse two fascinating articles about features from (mostly) Google Brain/Research:
The Building Blocks of Interpretability: image feature extracting
Kaggle is a repository of datasets contributed by members, often supplemented by notebooks that analyze and visualize the data. It runs model prediction competitions, which leads to the next link:
- Machine Learning Zero-to-Hero: Everything you need in order to compete on Kaggle for the first time, step-by-step!
Create ML Tutorial: Getting Started describes the usage of Create ML and Turi Create, including the history, code, data preparation, improving model accuracy and so on.